--- title: Projects Page --- Use the Projects Page for project navigation and management. Your projects are displayed like folders: click a folder to access its contents. The Projects Page shows the top-level projects in your workspace. Projects that contain nested subprojects are identified by an extra nested project tab. An exception is the **All Tasks** folder, which shows all projects' and subprojects' contents in a single, flat list. 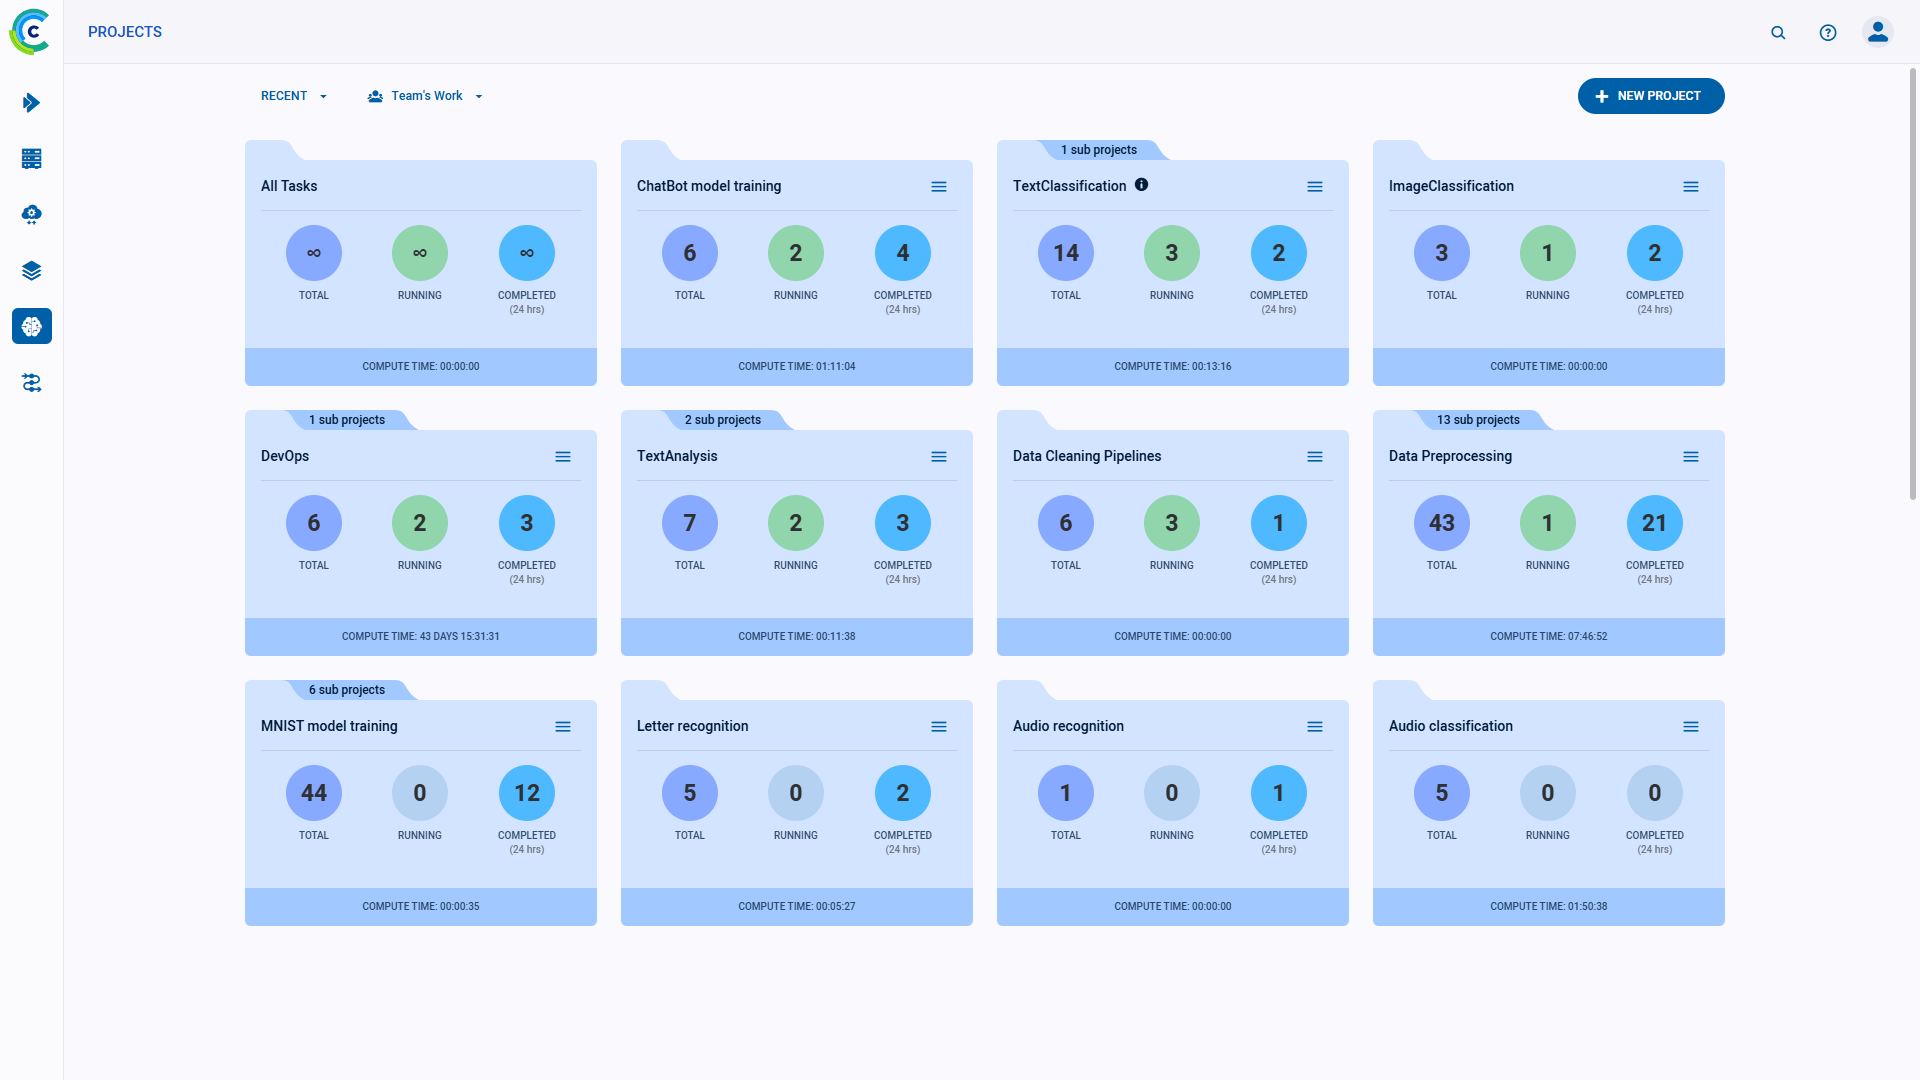 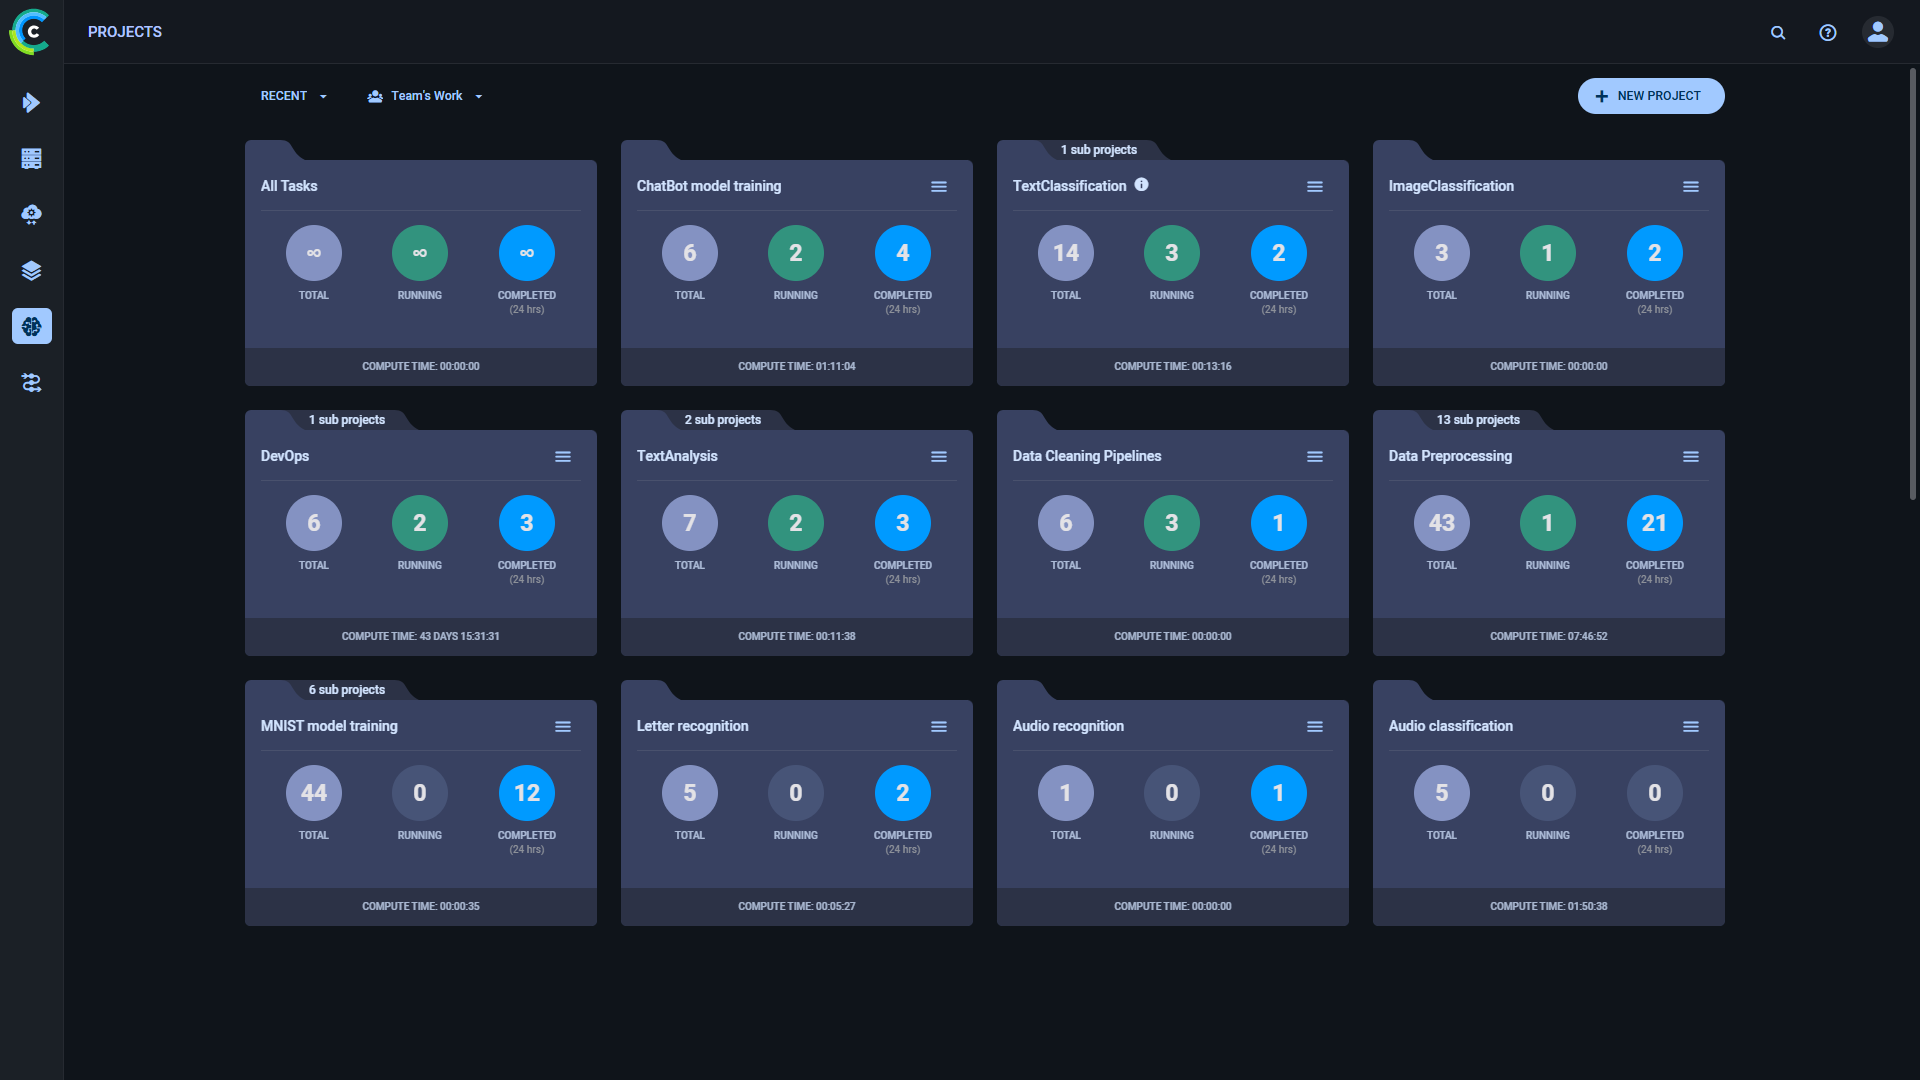 If a project has any subprojects, clicking its folder will open its own project page. Access the projects' top-level contents (i.e. tasks, models etc.) via the folder with the bracketed (`[ ]`) project name. If a project does not contain any subprojects, clicking on its folder will open its task table (or [Project Overview](webapp_project_overview.md) page when relevant). ## Project Folders Project folders display summarized project information: <div class="max-w-50"> 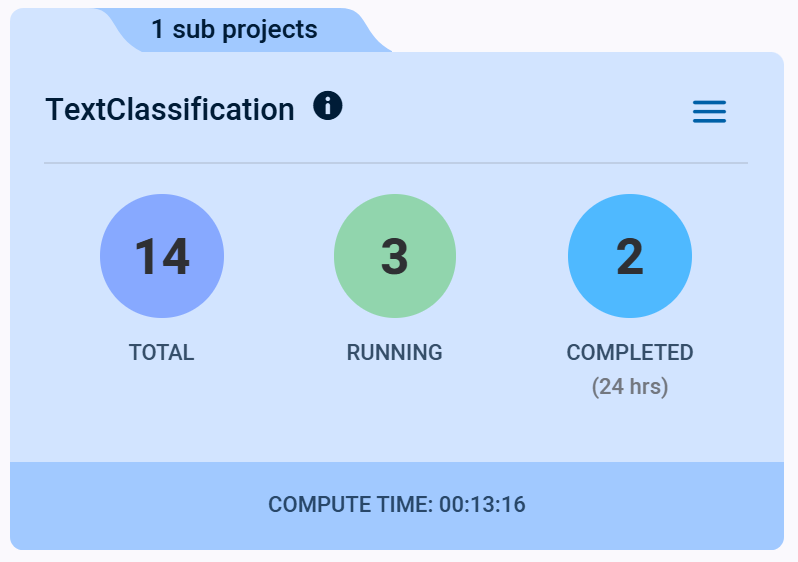 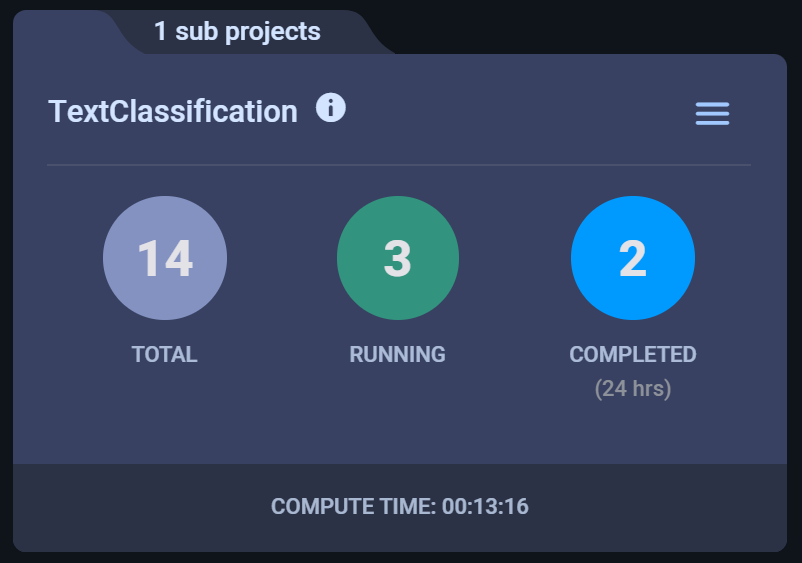 </div> * When the project contains subprojects, the folder shows the number of subprojects within the project as an additional tab. Click the tab to view a list of subprojects, and click on a subproject's name to navigate to it. <div class="max-w-50"> 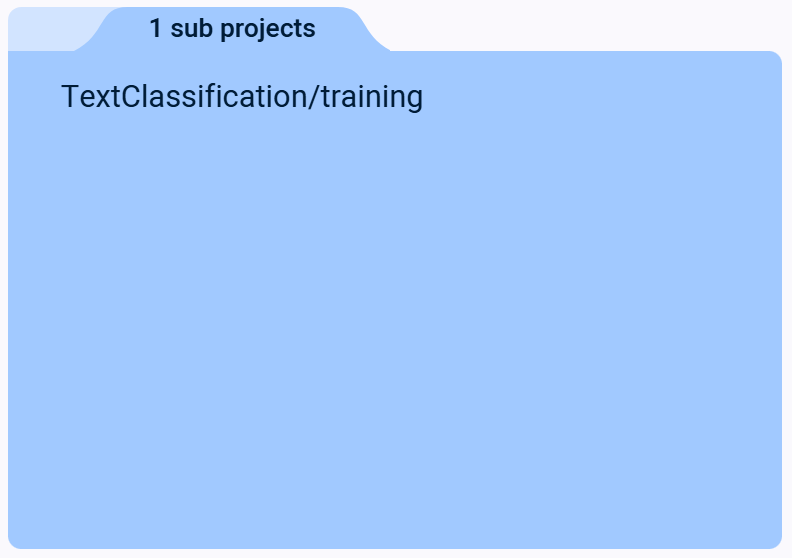  </div> * When a project's `default_output_destination` is set, the folder displays the <img src="/docs/latest/icons/ico-info.svg" alt="Info" className="icon size-md space-sm" /> indicator. Hover over the indicator to view the default output destination. <Collapsible title="Hidden Projects" type="configuration"> By default, ClearML infrastructure projects (i.e. dataset, pipeline, reports, application projects) are not shown in the projects page. You can enable viewing them in **Settings > Configuration > User Preferences**. When enabled, all infrastructure projects are labeled with <img src="/docs/latest/icons/ico-ghost.svg" alt="Hidden project" className="icon size-md space-sm" /> <br/>   </Collapsible> ### Project Actions Click <img src="/docs/latest/icons/ico-bars-menu.svg" alt="Menu" className="icon size-md space-sm" /> on the top right of a project folder to open its context menu and access the following project actions: <div class="max-w-50"> 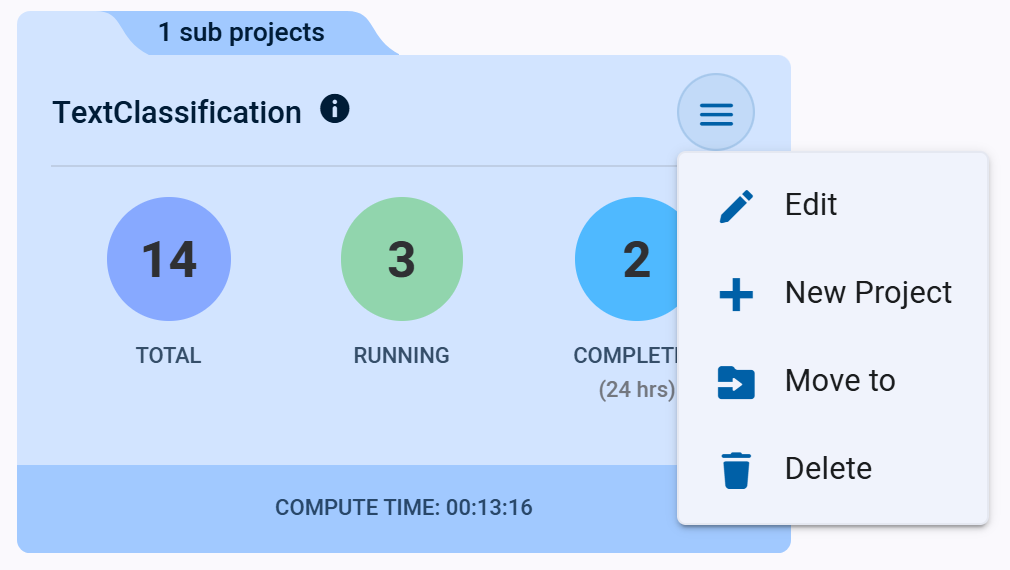 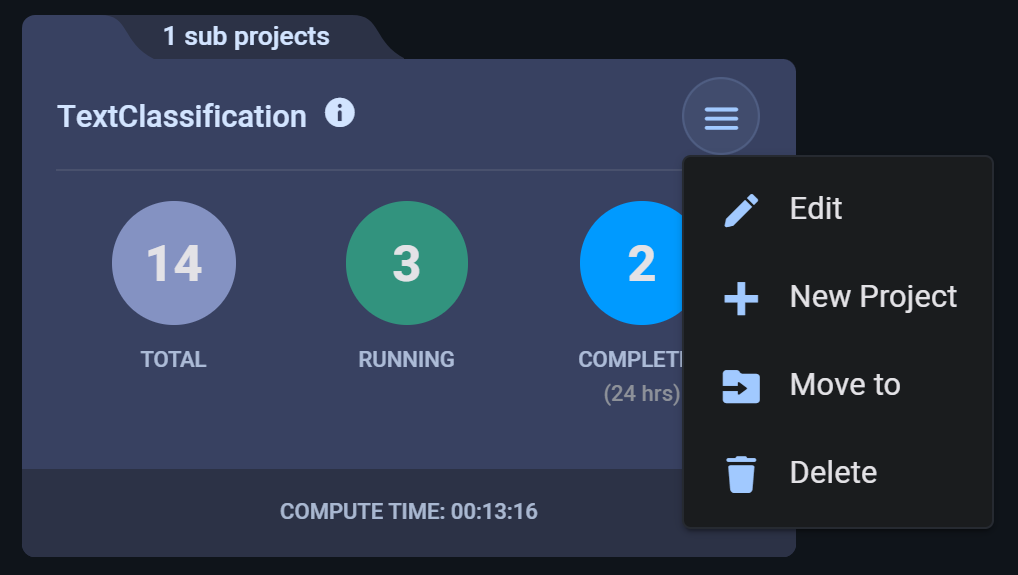 </div> * **Edit** - Rename the project and/or modify its default output destination. * **New Project** - Create a new project (by default a subproject). * **Move to** - Move the project into another project. If the target project does not exist, it is created on-the-fly. * **Delete** - Delete the project. To delete a project, all of its contents (i.e. any pipelines/reports/datasets) must first be archived or removed. :::important Enterprise Feature The ClearML Enterprise Server provides a mechanism to define your own custom actions, which will appear in the context menu. Create a custom action by defining an HTTP request to issue when clicking on the context menu action. For more information see [Custom UI Context Menu Actions](../deploying_clearml/clearml_server_config.md#custom-ui-context-menu-actions). ::: ## Create Projects To create a project, click the **+ NEW PROJECT** button in the top right of the page or in a project's context menu, which will open a **New Project** modal. <div class="max-w-75"> 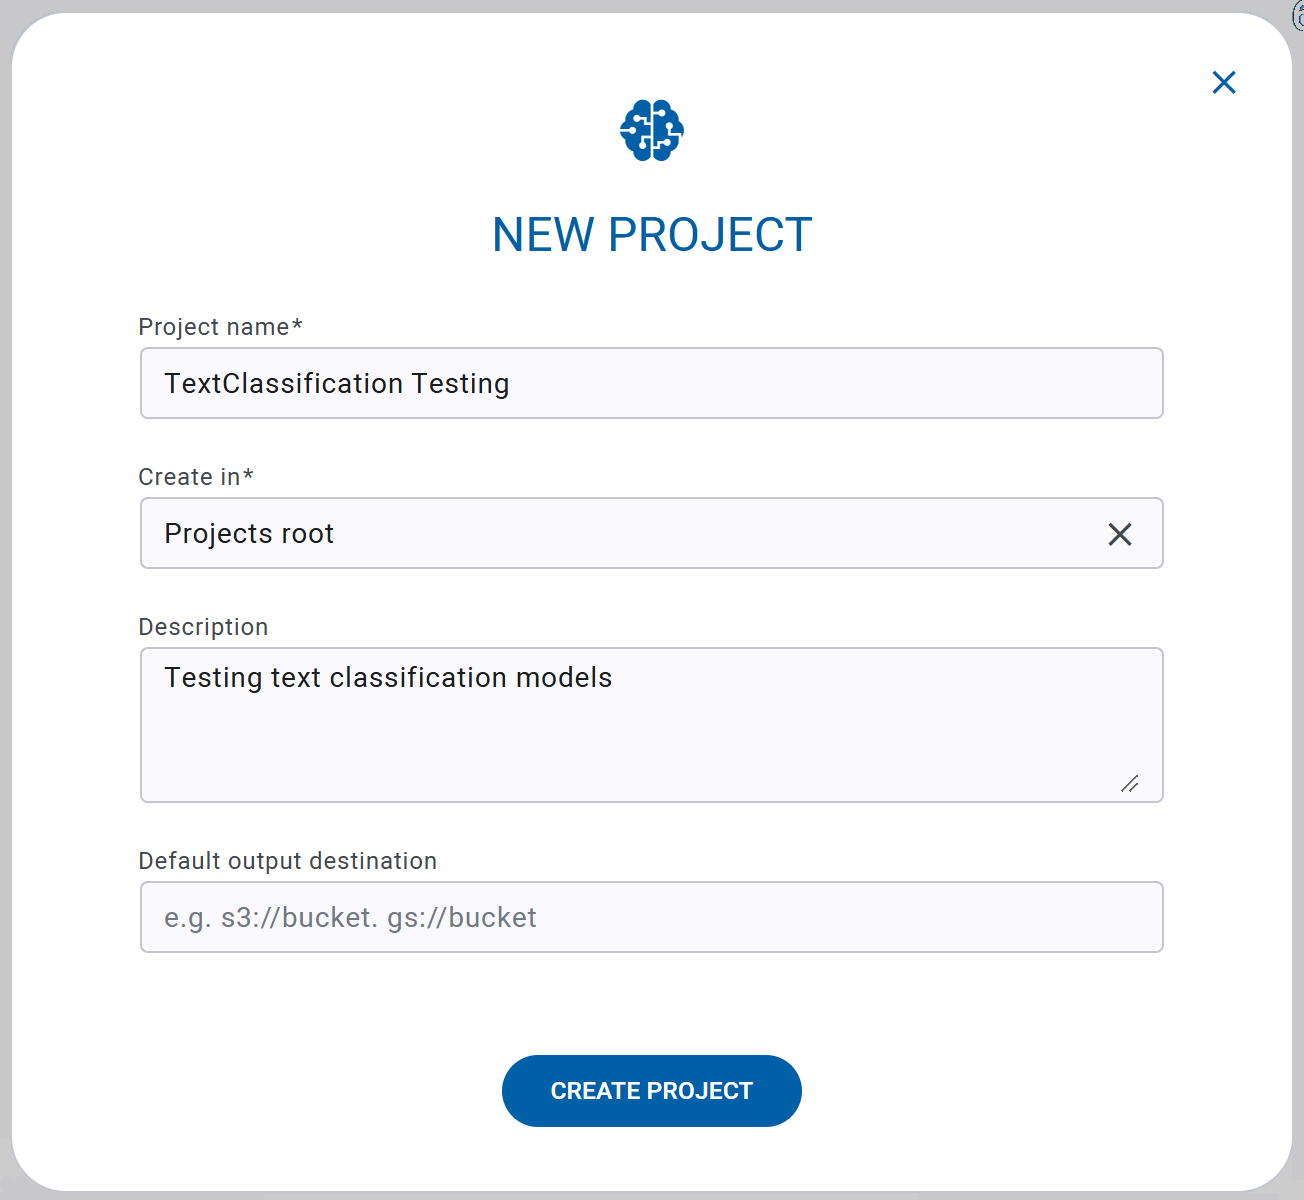 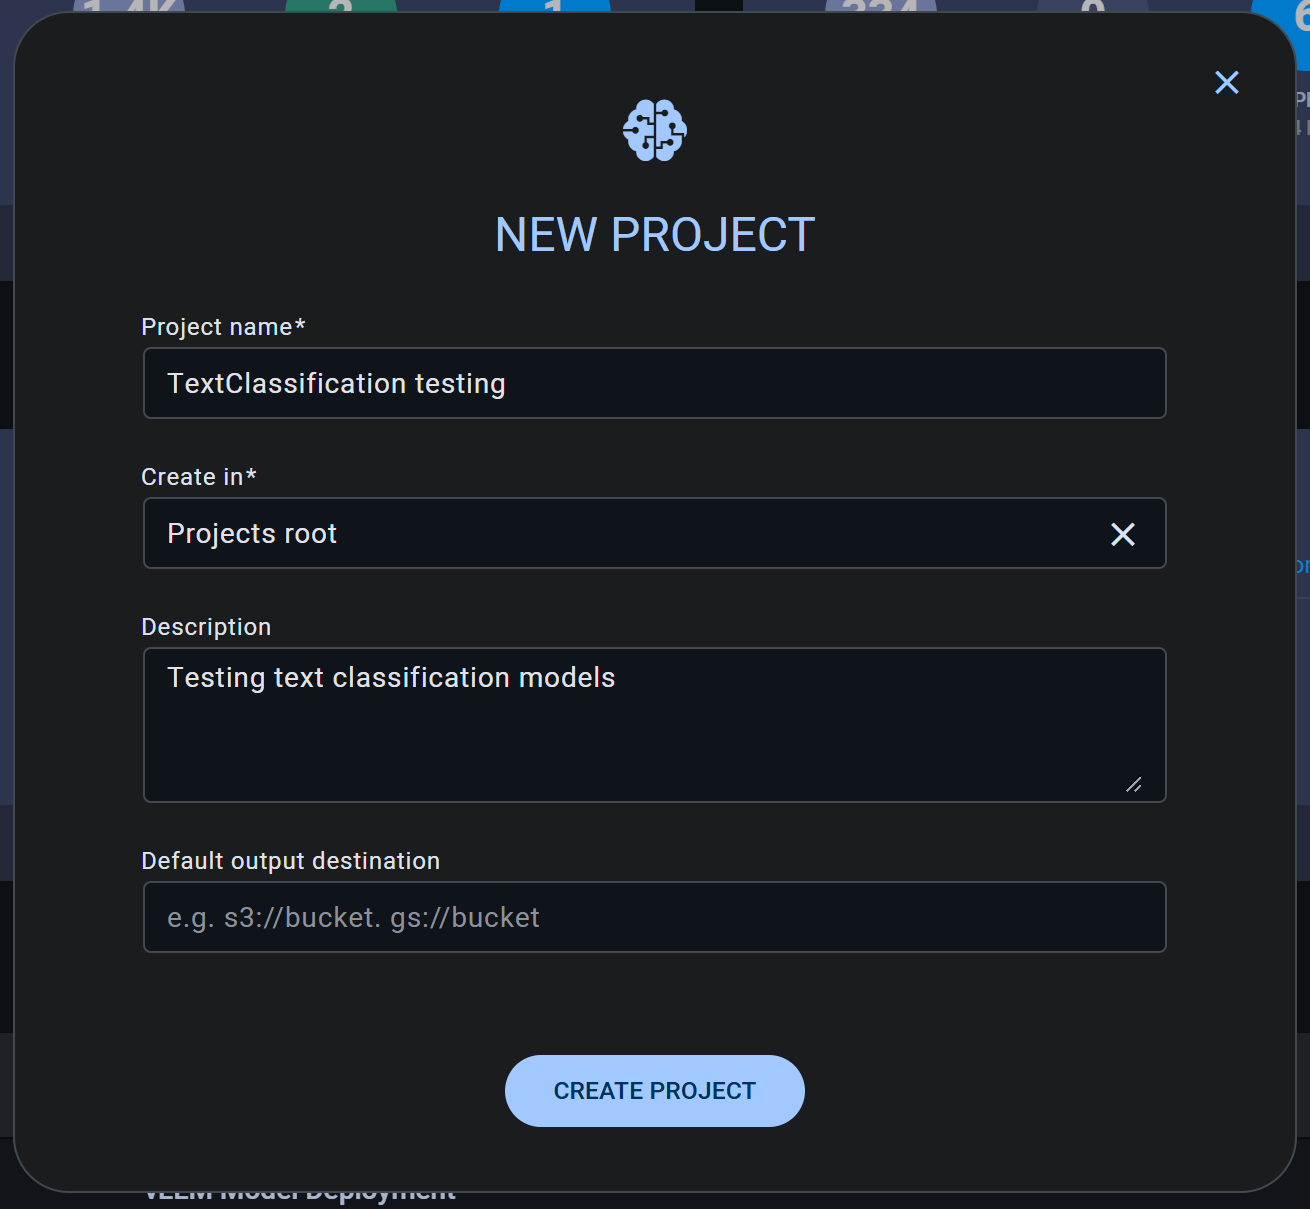 </div> * Project name * Create in - Where the project should be created, either as a top-level project (create in `Projects root`) or as a subproject of another project * Description * Default output destination - The storage location where model checkpoints (snapshots) and artifacts will be uploaded when tasks in this project that do not have an explicit output destination specified are executed